muiTreeView gives access to MUI X Tree View React components, which lets users navigate hierarchical lists of data with nested levels that can be expanded and collapsed.
Install
You can install the development version of muiTreeView like so:
remotes::install_github("lgnbhl/muiTreeView")Read the full documentation with examples here.
Basic example
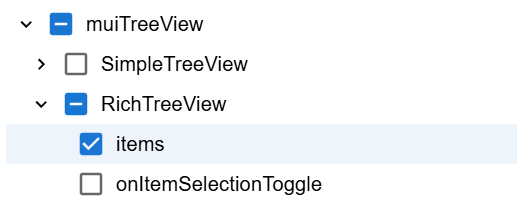
library(muiTreeView)

df <- data.frame(
  pkg = c("muiTreeView", "muiTreeView", "muiTreeView"),
  functions = c("SimpleTreeView", "RichTreeView", "RichTreeView"),
  args = c("items", "items", "onItemSelectionToggle")
)

treeItems <- muiTreeView::asMuiTree(df)

RichTreeView(
  items = treeItems,
  checkboxSelection = TRUE,
  multiSelect = TRUE # FALSE for single select
)
Full documentation
All the docs with examples are here.
Contribute
If you have any issue, question or want to contribute with a pull request, don’t hesitate to write me on https://github.com/lgnbhl/muiTreeView.
For updates follow Felix Luginbuhl on LinkedIn.